Hugo | 给博客配置图床
安装 PicGo
brew install picgo --cask
创建 GitHub 图床仓库
名称无所谓,记得勾选 README
生成令牌(Token)
在 Account-Settings-Developer Settings-Personal Access Tokens 下生成(勾选 repo)并保存
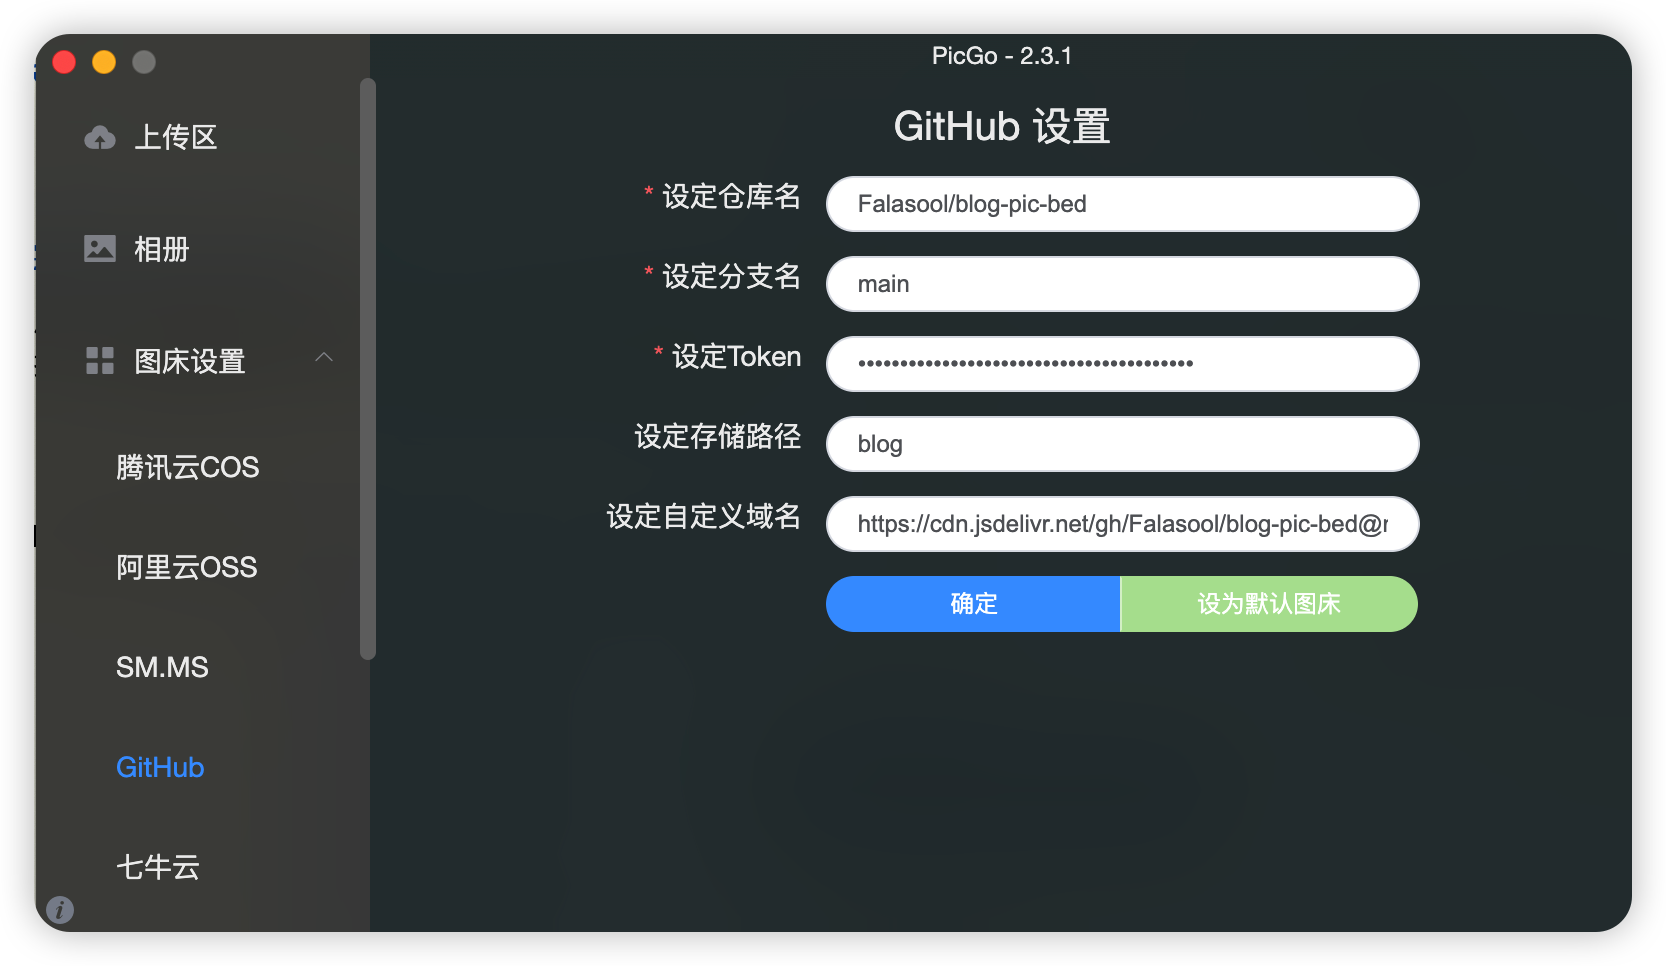
配置 PicGo
自定义域名是:https://cdn.jsdelivr.net/gh/<github用户名>/<图床仓库名>@<仓库版本号>/
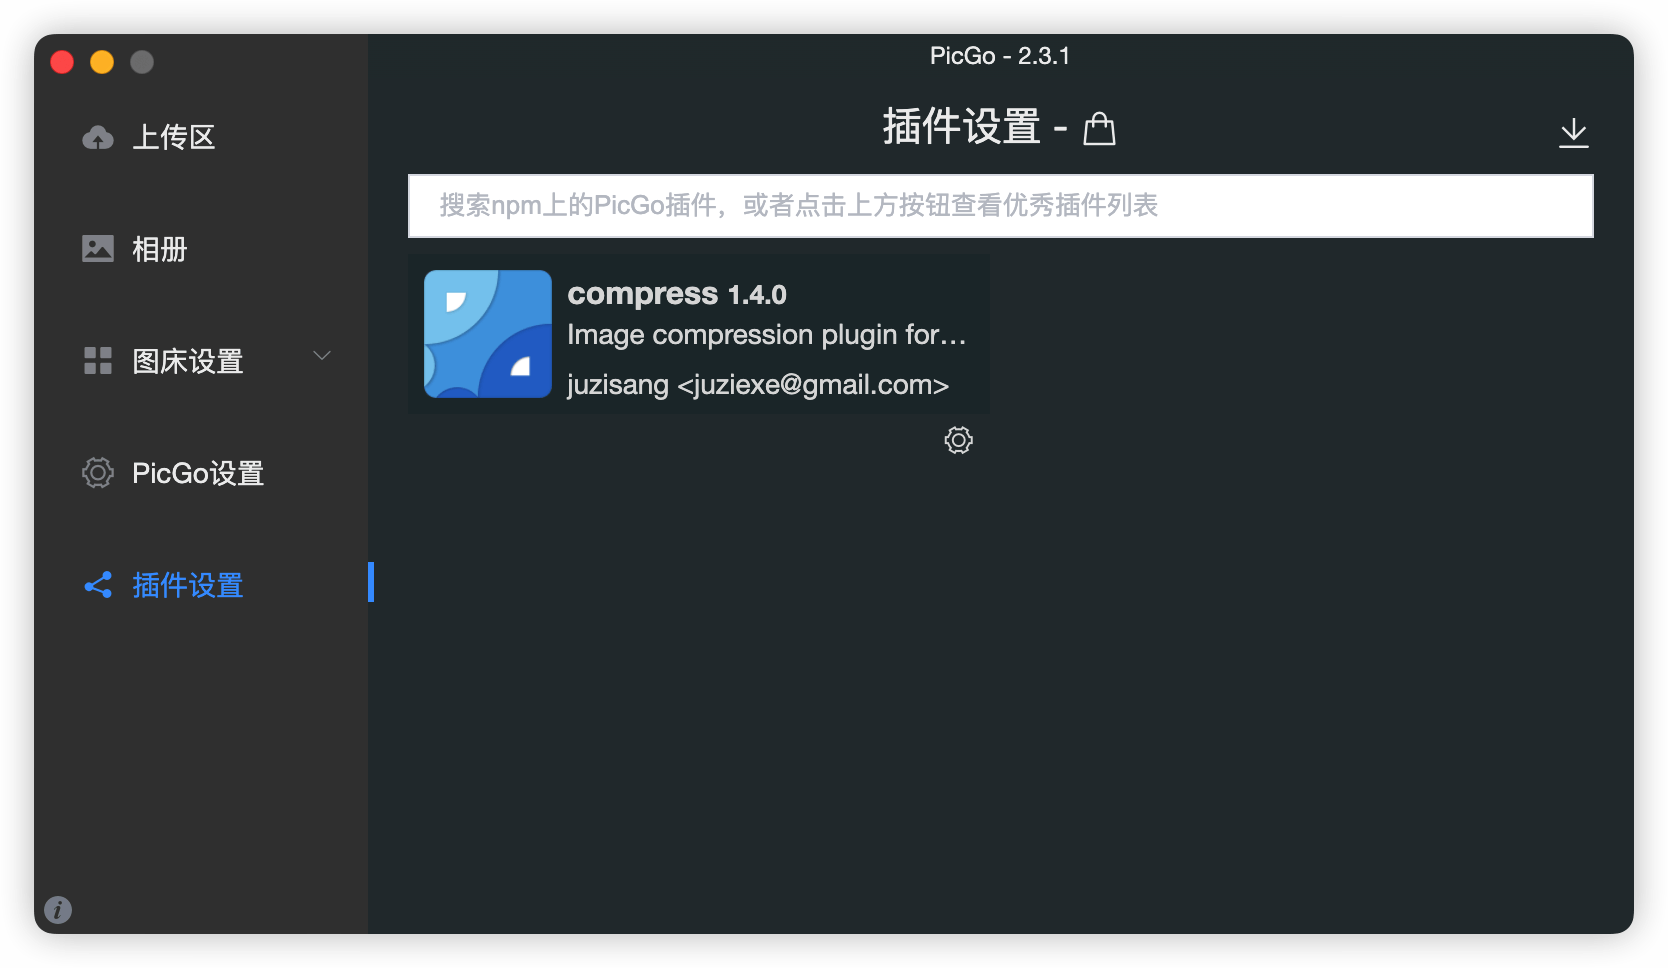
插件
Update:使用图片压缩插件 compress
参考 PicGo插件开发指南1 和 issue#22 安装插件
cd /Users/username/Library/Application\ Support/picgo/
brew install libtool automake autoconf nasm
npm cache clean --force
# 删除node_modules文件夹
npm install picgo-plugin-compress --save --ignore-scripts --registry=https://registry.npm.taobao.org
npm install --registry=https://registry.npm.taobao.org
重启 PicGo,在插件设置里点击⚙️,配置plugin - picgo-plugin-compress,选择压缩方式– imagemin
最后点击⚙️,启用transformer-compress
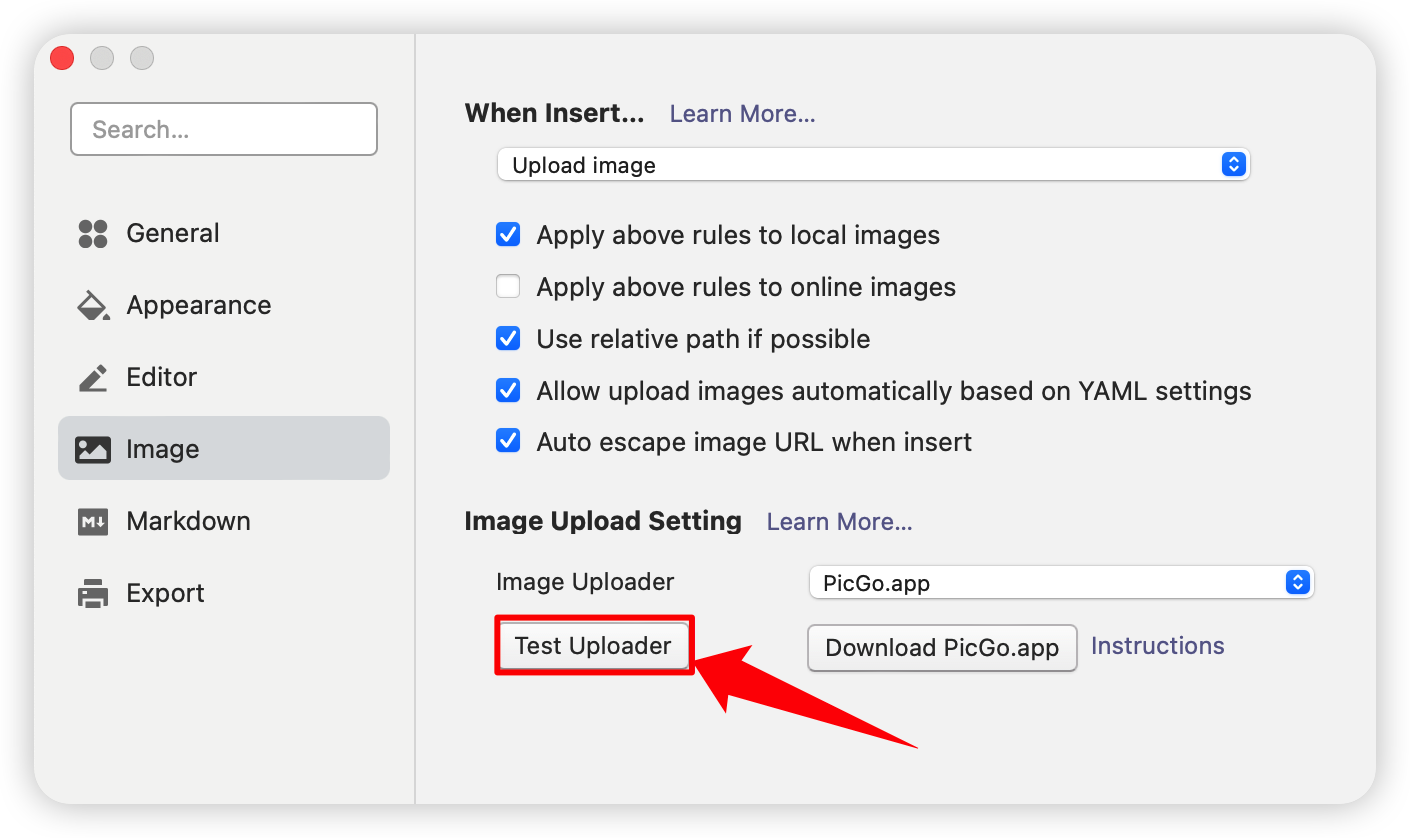
测试图床
这张图片使用compress插件上传:
*****
[可选] 手动用 Squoosh 把图片转格式(webp)并压缩
设置成功后直接把图片放进 Typora 就OK
锵锵~请看!!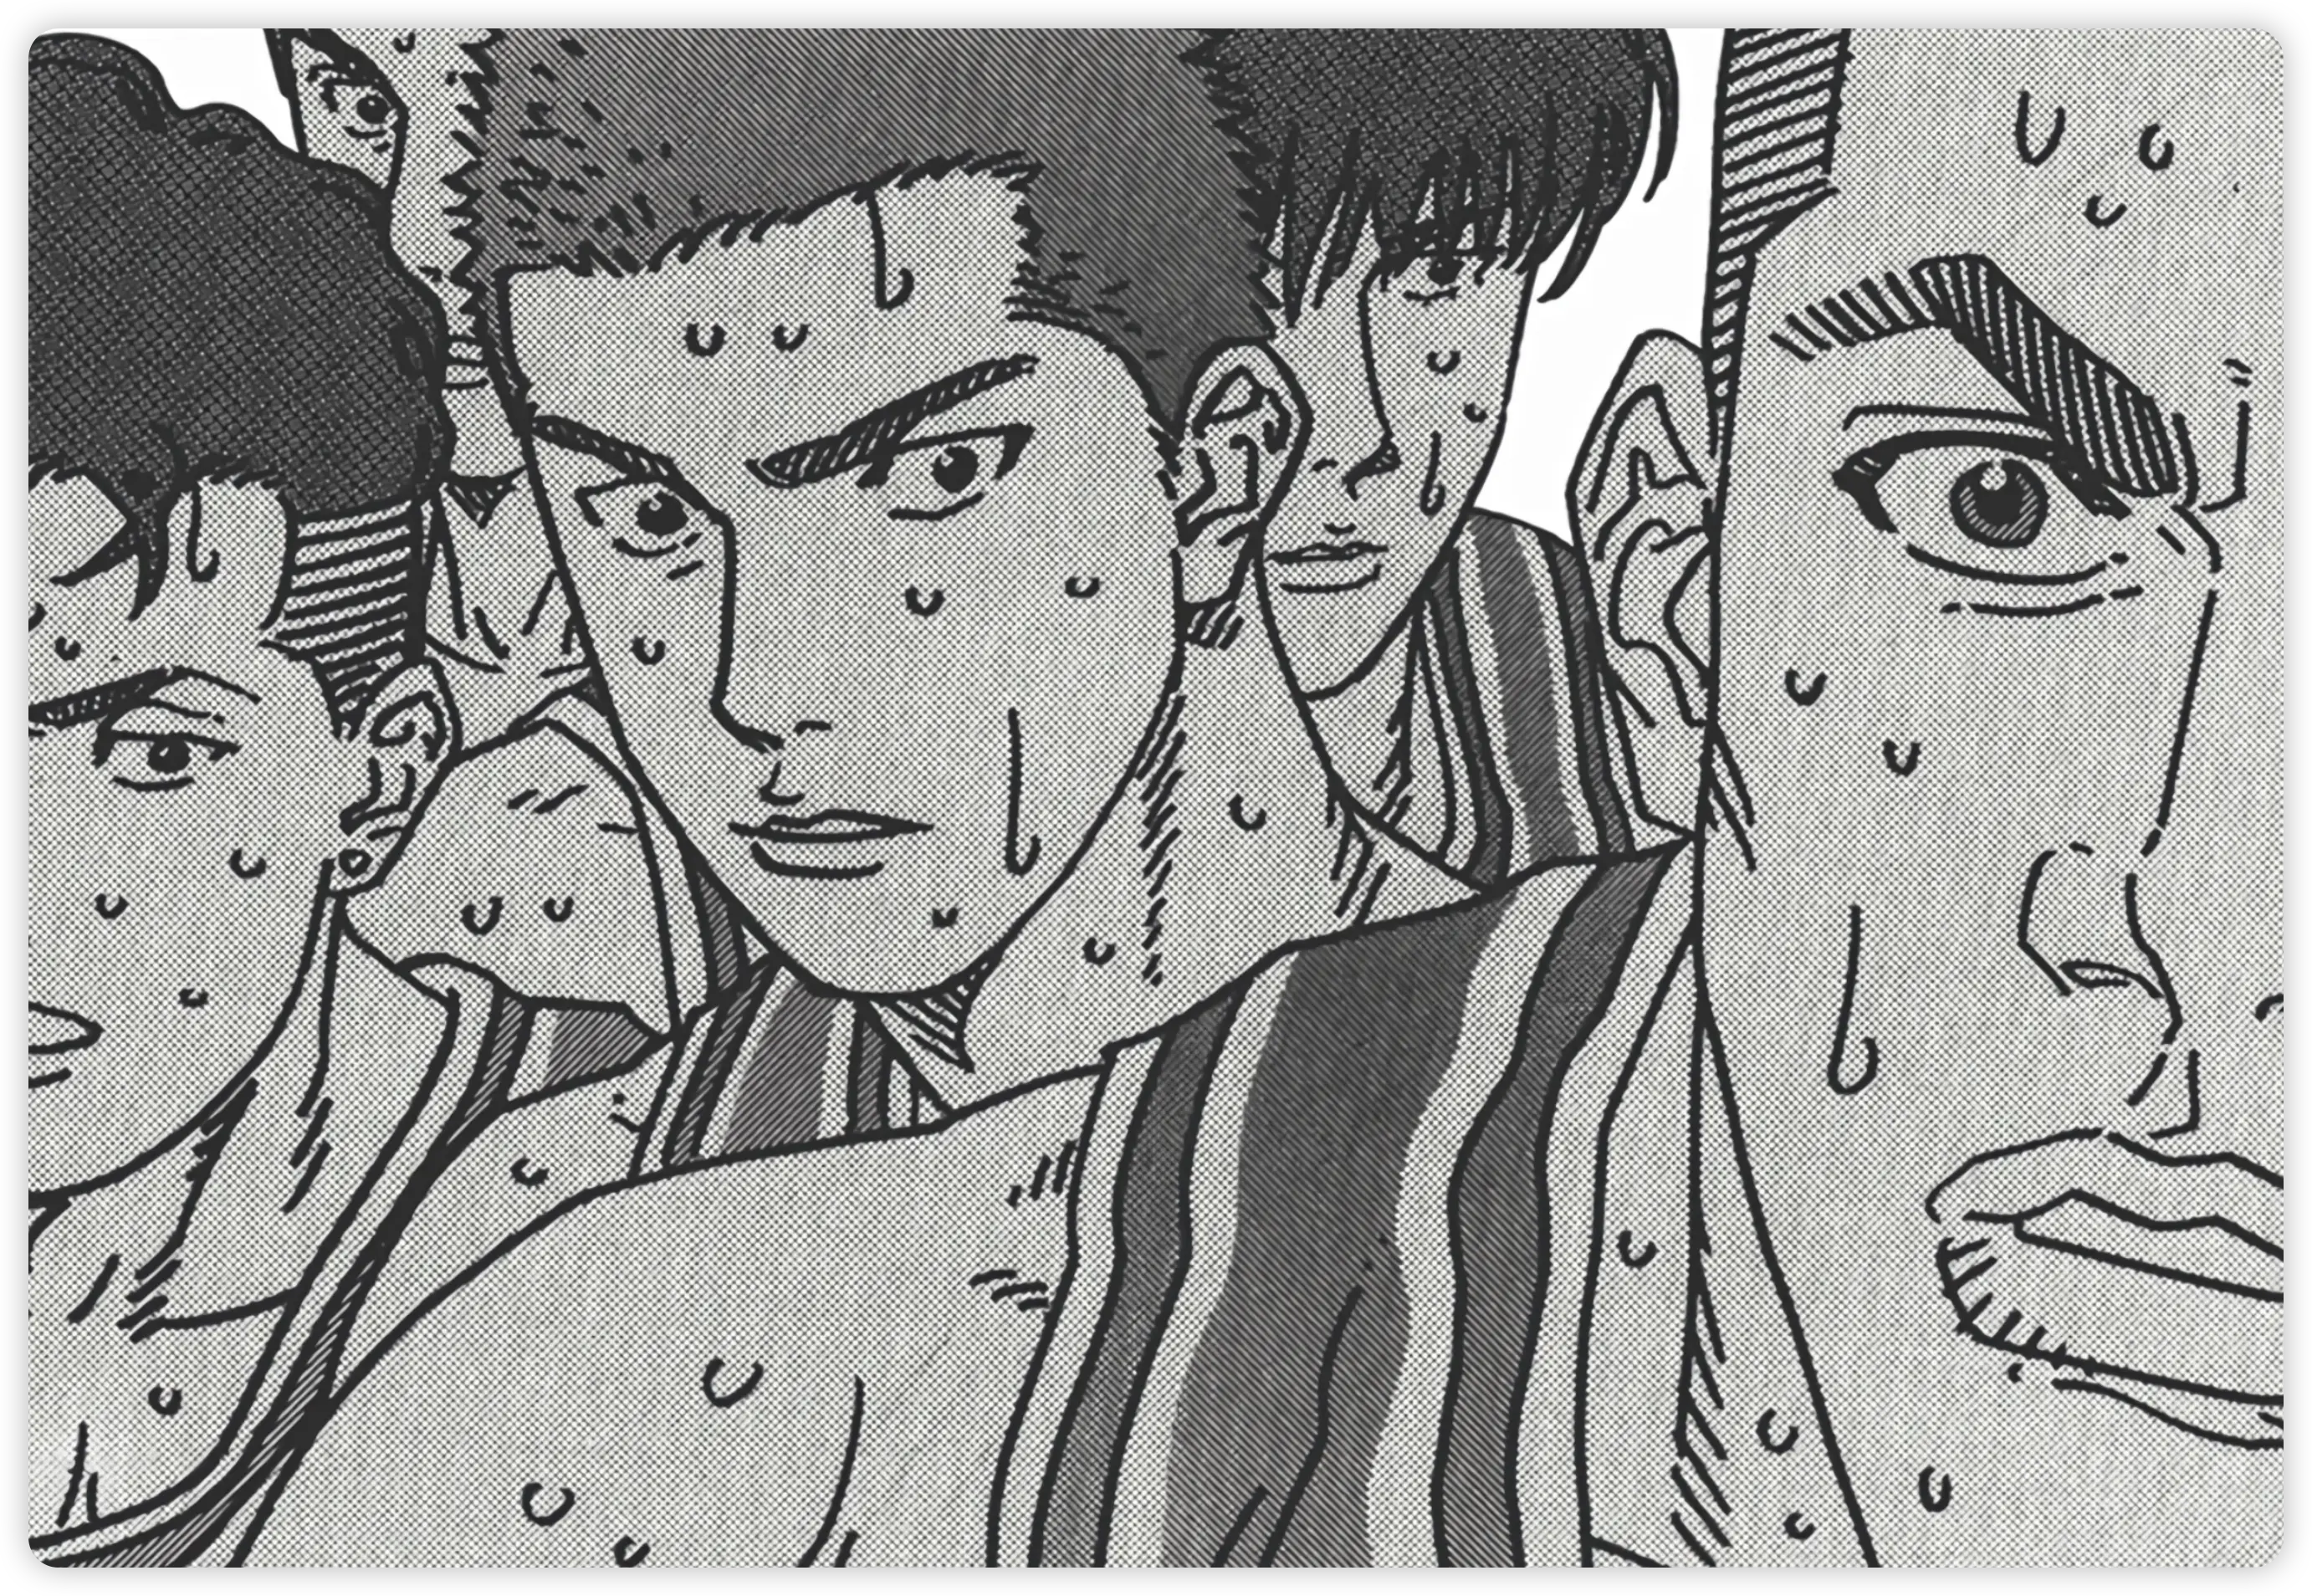
进阶:使用github私有仓库和Cloudflare Workers搭建个人图床,优点:反向代理作为图床的仓库,开启缓存避免重复请求